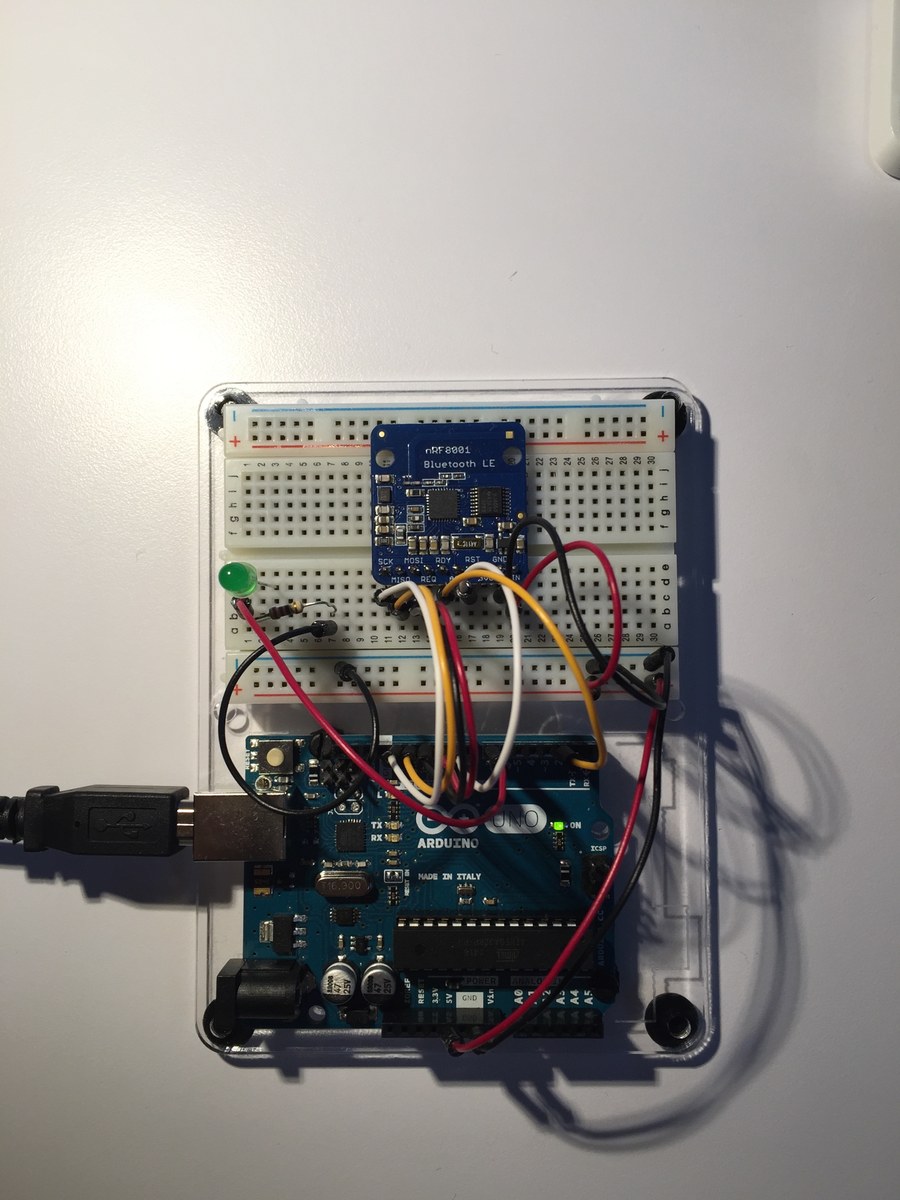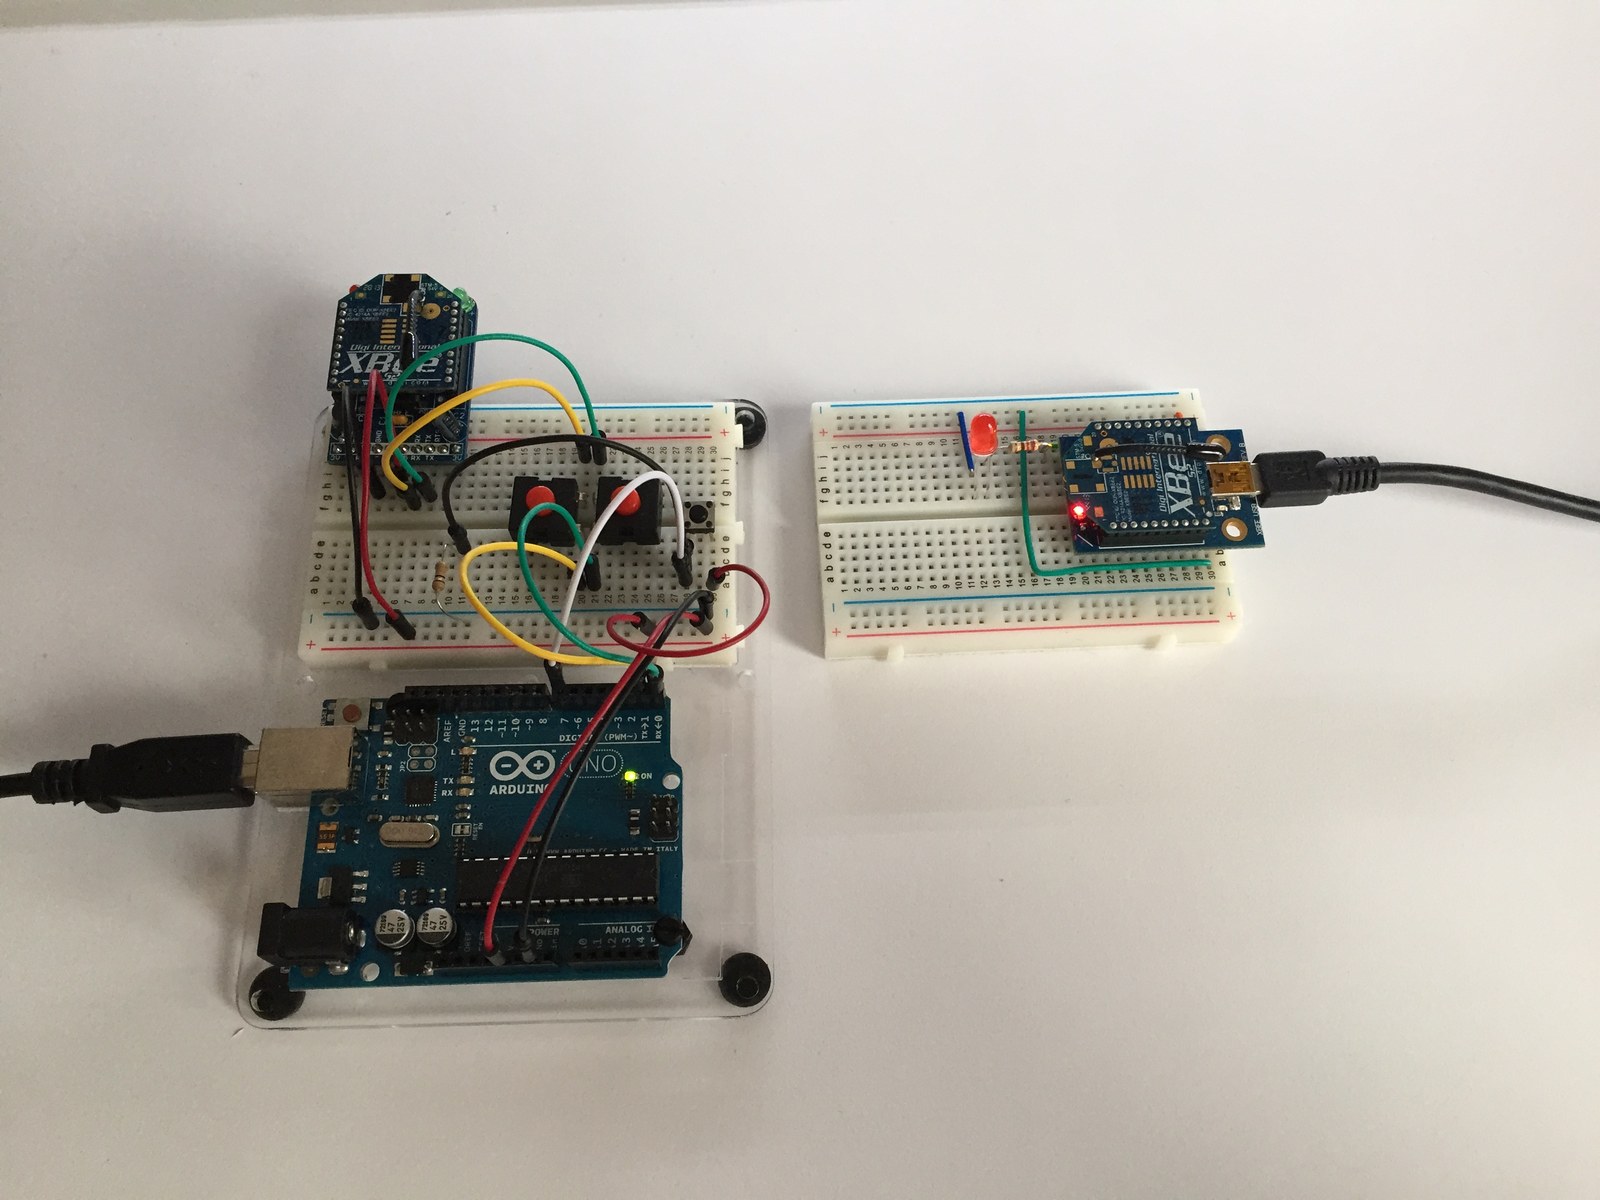
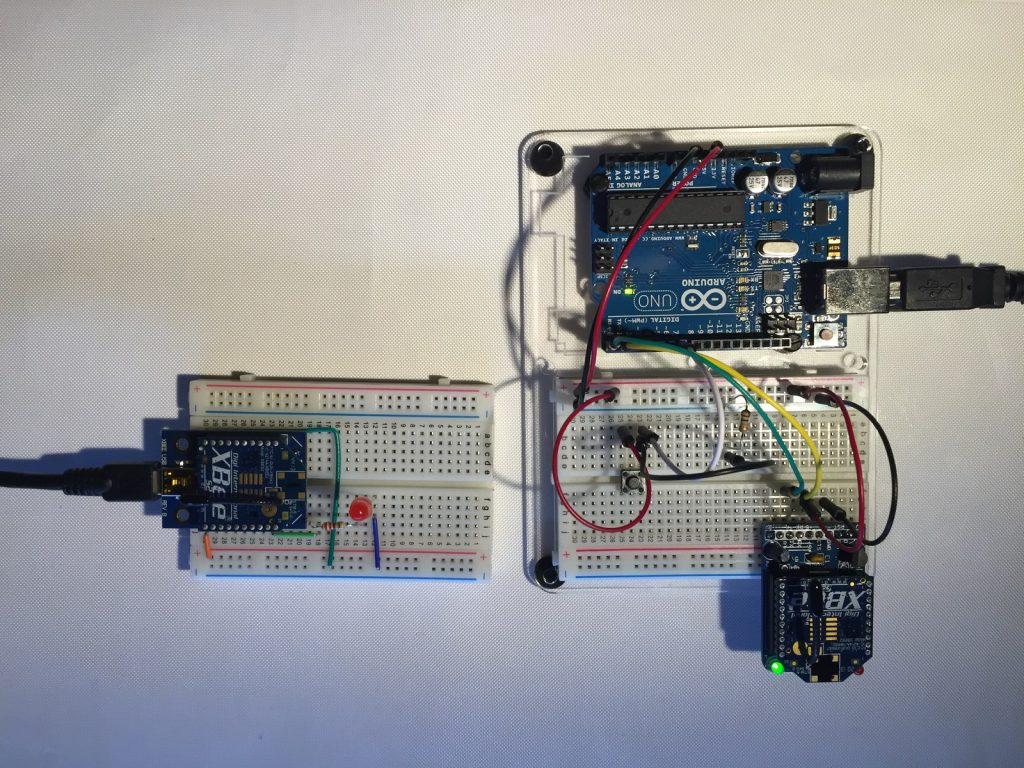
This experiment turns a local pushbutton action into an XBee Remote AT command. The Arduino lights its own LED and sends a command to change a remote radio’s D3 output, demonstrating digital control without running a second Arduino sketch at the receiving end.
How the project works
The setRemoteState function constructs a 0x17 Remote AT Command frame byte by byte. It sends the D3 command with value 0x05 for HIGH or 0x04 for LOW, uses the broadcast destination and finishes with the XBee checksum.
When the button input is HIGH, the program enables the local and remote outputs, waits three seconds, then disables them. The frame ID is zero, so this example does not request a command response.
Hardware and configuration
| Item | In the supplied code |
|---|---|
| Local button | D7, configured as INPUT |
| Local indicator | D13 |
| Remote command | AT D3 via frame type 0x17 |
| Serial monitor / radio link | 9600 baud |
Working with the supplied code
Use the saved Fritzing file and photographs to identify the local and remote circuits. Confirm the radio’s API mode and destination settings before transmitting; the broadcast address is appropriate only when intentionally addressing all compatible receivers.
The variable buttonStateOld is never updated in the saved loop, so a held HIGH input can trigger repeated three-second cycles. Add state tracking and debounce if one action per press is required. The input also needs a defined idle level because the sketch selects INPUT rather than INPUT_PULLUP.
Video demonstration
Source code and project files
Browse this project on GitHub. The files below are useful starting points for the sketches and references discussed in this post.
Download the used libraries (ZIP, 14.7 MB).
These notes describe the archived source and project media. The sketches have not been rebuilt or tested on hardware for this article.